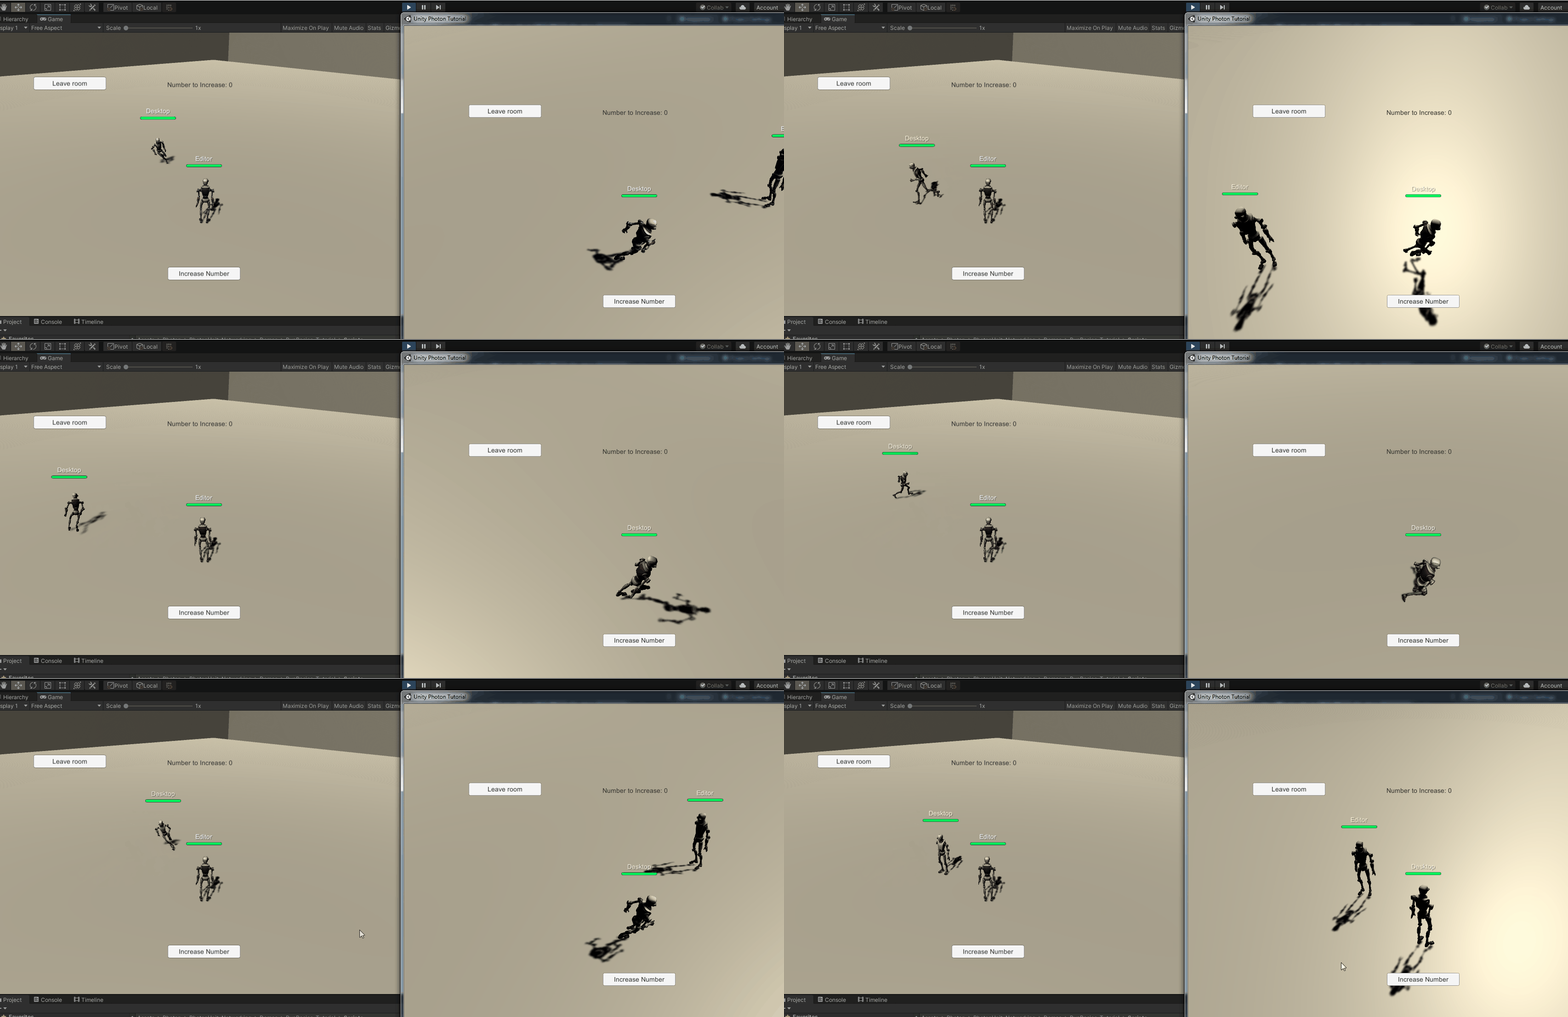
Photon is a networking engine and multiplayer platform that can handle all the requests on their servers, and through the Unity (or other game engines) we can consume it, add the logic in our projects, focus on gameplay and features and let the part of the networking to Photon.

PUN (Photon Unity Networking) is one out of the box solution for handling multiplayer on Unity Projects, in this tutorial, we are going to lear how to:
At the end of this tutorial, we are going to learn how to create a simple game with this features, and learn how we can scale it to add more features in the future.
I recommend that you check out the Github repository for this tutorial if you want to get more details as you read by, but we are still going to go step by step about how to achieve a Unity game with a multiplayer feature, you can also check out a live version of this tutorial here
First, we would need to create a Photon account over here
Once we are done with that, we can go To Dashboard > Public Cloud > Your Applications and we are going to click on “Create a New App”
We are going to choose “Photon PUN” for “Photon Type” and write a unique name on the field, after that we can fill out the rest of the optional fields and click on “Create”

This will create our Application on Photon, that we will need for the next steps on this tutorial, whate we want from here is the “App ID” if we click on the numbers, the rest of the Id will show up, and we can copy it for later use.
Here on the dashboard we can also get access to the metrics of how the app has been used, how many CCU (Concurrently Connected Users) have been connected accross all the rooms in your game.
Photon have a free tier that lets us test it (or go live if we want) with 20 CCU and we can choose to upgrade whenever we want, I personally think this is a great deal as Proof of concept and small games (that’s what we end up using on Dots of War), also if you want to upgrade to 100 CCU the Photon PUN 2+ Unity asset includes 100 CCU for 60 months at $95 USD you can also check out the pricing plans on their official website.
And if you feel the need to have more control over what’s going on on the server side of things, they have a solution for Self-Hosted servers, the same implementation but instead of going to theirs servers, it goes to yours.
Anyway, let’s go back to the tutorial, Let’s open up Unity and create a new 3D project.
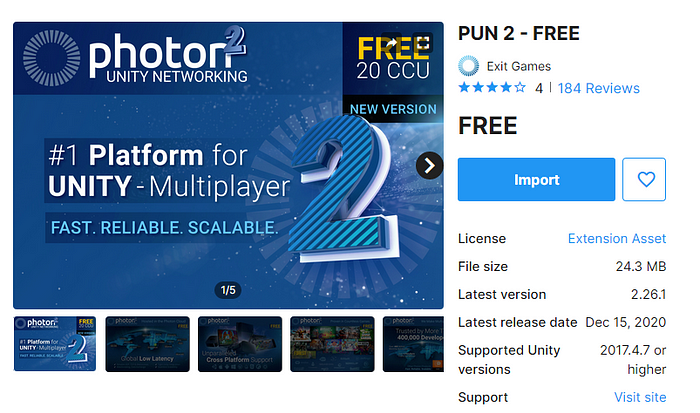
Go to Window > Asset Store (make sure you are logged in), and search for “Photon Pun” in the searchbar. Here we are goint to select “PUN 2 - Free” and Import it to our Project.
